In this article
What is an under-applied cap
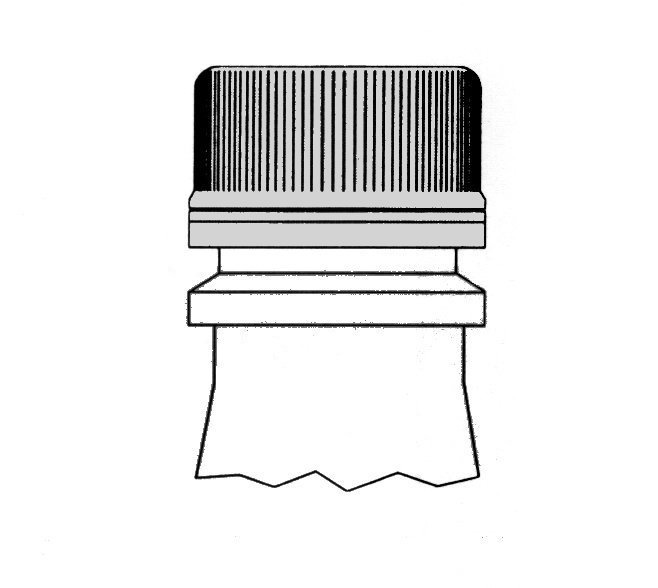
An under-applied cap is one that reached the end of capping, but stayed loose. You can thread it by hand and it tightens further. There may be partial contact between the liner and the sealing surface — or no contact at all, generating liquid leakage.
The symptom is confused with high cap because visually they look the same (cap does not seal well). The practical difference: under-applied allows more manual tightening; high cap binds. The packaging technical guide treats the two separately precisely because the causes are opposite — and both show up as low removal torque when measured in QA.
Under-applied vs High: the hand test again
If you can hand-thread it and the cap tightens further, it's under-applied — the capper should have tightened more and didn't. If you cannot tighten it (the cap binds), it's a high cap — the capper stopped too early. The root causes are opposite.
Possible causes — Capper (10 items)
Under-application is almost exclusively a capper defect. The 10 causes:
| Item | Cause | Solution |
|---|---|---|
| 5.3.1 | Turret too high. | Place a hand-threaded bottle at the rear of the capper. For Magna Torq, the head reference line must match the upper edge of the housing. For other heads, 5 mm compression. |
| 5.3.2 | Capping head vertical load too low. | Adjust between 20 and 40 lb. Load below that range does not apply enough tightening. |
| 5.3.3 | Rear guide too high. | Should be 1 to 1.5 mm below the anti-rotation inserts. |
| 5.3.4 | Star wheel too high. | Review star wheel sync relative to the capping heads. Confirm correct height and equal clearance on each side. |
| 5.3.5 | Damaged or worn anti-rotation inserts. | Check insert condition. Replace if needed. |
| 5.3.6 | Worn anti-rotation bases or belts. | Check bases and belts. Replace if needed. Watch out for oil or grease — contamination reduces the friction that holds the bottle still while the head rotates the cap. |
| 5.3.7 | Low static torque. | Adjust to 10 ± 2 in.lb. |
| 5.3.8 | Equipment does not perform the 3 needed turns. | Contact the equipment manufacturer and technical support. 3 full turns is the reference to fully thread a cap on a standard PCO finish. |
| 5.3.9 | Wrong chuck or worn splines. | Confirm that chucks match the cap type. If suspect, install the chuck on another magnetic capping head to check if the defect follows it. |
| 5.3.10 (P.O.) | Pre-torque malfunction. | Reinstall the pre-torque at correct height — serrated arm engaging at mid-height of the cap. |
Practical rule: 3 turns for proper application
The most useful reference on this list is item 5.3.8: a cap is only well applied when the equipment makes at least 3 full turns on it. On older or poorly synchronized cappers, the head may be turning 2 or 2.5 turns — enough to look applied, not enough to seal. Counting turns is a 30-second diagnosis.
Next step
Under-application is one of the most common and most under-diagnosed defects. It tends to get treated as a "torque issue" when it actually involves the turret, guides, chuck and even the friction of the anti-rotation belts. The complete technical guide brings the root-cause tree for each of the 13 problems.
Guide to Cap Application Problems
The 13 most common capper failures — diagnosis, root cause and correction. Free technical material.
Download the full guide →