
In this article
Two failure modes, same mechanical origin
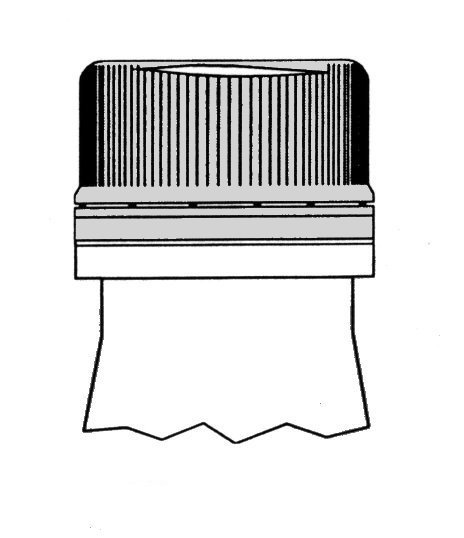
The cracked cap (split closure) shows up in two main ways on the packaging line:
- Radial break: the cap parts horizontally around the upper edge, creating a characteristic "poker chip" pattern (the disc of the top face separates from the body).
- Vertical shell crack: a vertical fissure along the side wall, usually from the upper edge down to the tamper-evidence band.
Both have the same mechanical root cause: excessive stress on the cap during application. The difference is where the material gives way first — at the upper transition zone (radial) or on the shell (vertical). Both compromise the seal and the product leaks.
How to identify a factory defect
If there is liner material that extrudes through the crack (leaks through the fissure to the outside), the defect comes from cap manufacturing, not from the capping operation. The injection produced the cap with the crack already present — the liner was injected afterward and escaped through the flaw. In that case, change the lot.
When the liner is contained (does not cross the crack), the defect was generated during application. Then the path is to adjust static torque or vertical load on the magnetic capping head (Magna Torq) or equivalent.
Possible causes — Cap
| Item | Cause | Solution |
|---|---|---|
| 3.1.1 | Caps come from the factory with a defect (liner extrudes through the crack). | Change the cap lot and contact supplier technical support for evaluation. |
Possible causes — Capper
Ruling out factory defects, two capper adjustments produce a cracked cap — and both sin by excess:
| Item | Cause | Solution |
|---|---|---|
| 3.3.1 | Excessive static torque on heads. | Adjust static torque to the 10 ± 2 in.lb range. Values above that window crush the cap against the finish and produce the radial break. |
| 3.3.2 | Excessive vertical load on heads. | Keep the capping head vertical load between 20 and 40 lb. Above that, the cap material gives way at the wall, producing the vertical crack. |
Note that these two adjustments are also related to cocked cap (excess or lack of torque/load) and broken bands (load above 40 lb). When more than one defect shows up at the same time, audit static torque and vertical load first — they affect three distinct problems with a single adjustment.
Next step
Cracked cap is the problem with the shortest cause list in the guide — but it is also one of the most critical, because the product leaks immediately. The adjustment is simple; the hard part is catching it before the product reaches the consumer.
Guide to Cap Application Problems
The 13 most common capper failures — diagnosis, root cause and correction. Free technical material.
Download the full guide →